Ultimate 3D printing guide for ASA filament
Overview
Numakers™ ASA is formulated to provide exceptional durability and resistance to UV radiation, making it ideal for use in outdoor applications, automative parts, and other high-stress parts.With its low warping, excellent layer adhesion, and smooth surface finish, our ASA filament is easy to print with and delivers consistent, high-quality results every time. Whether you’re a professional designer or a hobbyist looking to take your 3D printing to the next level, our ASA filament is the perfect choice for achieving top-quality results.
Here are some of the key benefits of using ASA filament for 3D printing:
- Durability: ASA is a very durable material that is resistant to impact, chemicals, and UV radiation. This makes it a good choice for applications where the print will be exposed to harsh environments, such as outdoor use or industrial settings.
- Weather resistance: ASA is resistant to UV radiation and chemicals, which makes it a good choice for outdoor applications. ASA prints can withstand the elements without fading or becoming brittle.
- Functional parts: ASA can be used to create functional parts, such as gears, brackets, and housings. It is strong and durable, making it a good choice for parts that will be subjected to stress.
How to print with ASA filament
- Prepare your 3D printer: Make sure that your 3D printer is properly assembled and calibrated. You should also clean the print bed with rubbing alcohol to remove any dirt or grease.
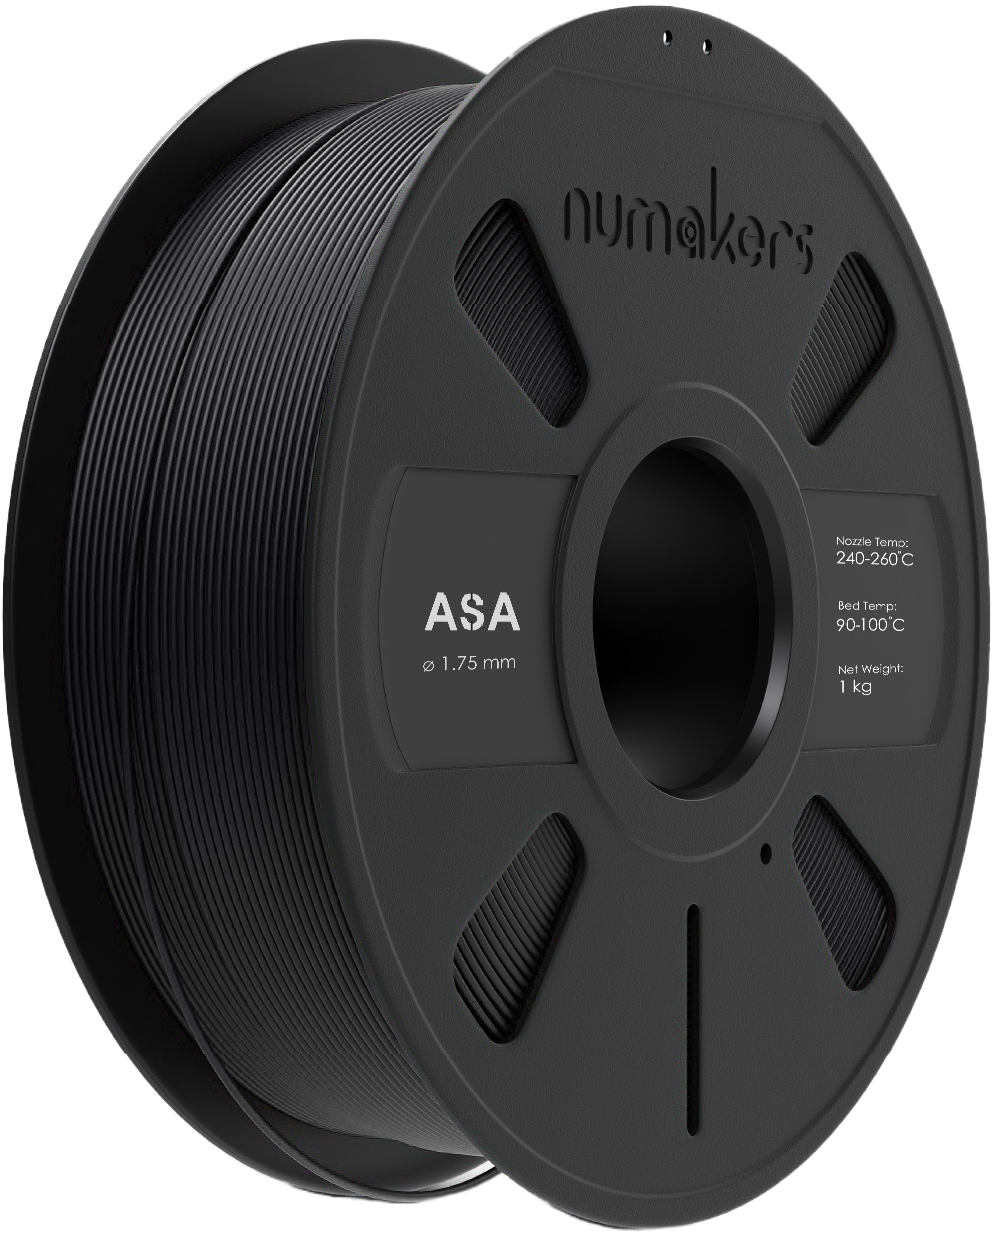
- Choose the right settings: ASA filament requires higher printing temperatures than standard PLA. The recommended extruder temperature for ASA is 240-260°C, and the recommended bed temperature is 90-100°C.
- Load the filament: Make sure that the filament is properly loaded into the extruder. The filament should be fed through the extruder gears smoothly without any resistance.
- Start the print: Once the print is started, monitor the print closely. ASA can be more difficult to print with than standard PLA, so it is important to be on the lookout for any problems.
- Troubleshooting: If you encounter any problems during the print, such as stringing or layer adhesion issues, you may need to adjust the print settings. You can also try slowing down the print speed or increasing the bed temperature.
Here are some additional tips for printing with ASA filament:
- Use a high quality filament: ASA filament can be expensive, but it is worth it to use a high quality filament to get the best results.
- Store the filament properly: ASA filament should be stored in an airtight container with desiccant to prevent it from absorbing moisture.
- Clean the print bed regularly: It is important to clean the print bed regularly with rubbing alcohol to achieve good bed adhesion.
- Use a brim or raft: A brim or raft is a small extension of the print that helps to increase the surface area of the print that is in contact with the bed. This can help to prevent the print from lifting up.
- Be patient: It is important to be patient and let the print cool down before removing it from the bed.
General tips on printing temperature
As long as it can print at temperatures as high as 260 °C, no specific hot end is needed. Given that PTFE begins to degrade at 250 °C, PTFE-lined hot ends may not be appropriate for longer periods of ASA printing. A hot end made entirely of metal is unquestionably the safer option, even though some ASA filament types can be printed at temperatures as low as 250 °C.
Determining the ideal printing temperature for any filament may require making a trade-off between aesthetics and durability. Lowering the nozzle temperature frequently solves issues like oozing and stringing while allowing you to manage cleaner bridging and steeper overhangs. Lowered temperatures, however, will impair layer adhesion, resulting in weaker components.
A temp tower is a great way to test different temperatures and see how they affect the print quality. You can find numerous temp towers on Thingiverse, such as this one.
With patience and tuning, you can achieve both good visual looks and strength with the right printing temperature.
How to get ASA filament to stick to the bed
The heatbed must be capable of reaching about 110°C - 120°C for ASA. An ABS-slurry may be required for larger prints to ensure greater adhesion. An extremely thin coating of this slurry is applied to the print bed after some ABS scraps have been dissolved in acetone. ASA works well with PEI/buildTak, painter's tape, or glass as a surface. (For excellent adhesion, use painter's tape and some ABS-slurry on bare glass.)
Many people make use of Kapton tape,or regular hairspray as well. Ensure that your bed is consistently level, just like you would with any other substance that relies on strong bed adhesion.
General tips on bed adhesion/leveling
These are some general tips for achieving proper bed adhesion and leveling when 3D printing. The most important rule is to always ensure that the first layer of the print is perfect, with no gaps or overlaps. This can be achieved by adjusting the distance between the nozzle and the bed, which should be neither too close nor too far apart. On the other side, ASA requires additional space to avoid nozzle clogging with residue.
General tips on improving visual quality of your 3D prints
To prevent ASA parts from splitting after printing, it's important to let them cool down slowly and uniformly. To achieve this, there are a few things to keep in mind:
- Avoid layer cooling by turning off your part cooling fan.
- Check your surroundings for draughts or cold temperatures if you experience warping. It is advised that the ambient temperature be at least 20 °C. An enclosed printer with chamber heating is useful if you print large parts and want to fully eradicate warping. Reduce your first layer printing speed to 15-20mm/s if you intend to print a really intricate model with lots of features on the first layer to ensure a quality first layer.
- Fully enclosed 3D printers are available, or you can purchase an enclosure for your existing machine. Alternatively, you can build a low-cost custom enclosure.
- To ensure good adhesion of your prints to the bed, it's important to apply a sufficient amount of adhesive and to reapply a fresh layer for each print. Additionally, using a brim that extends out can provide a larger base for the part and increase its adherence to the bed. Heated PEI bed is recommended when printing ASA. Increase the first layer hotend and bed temperatures by 5–10°C if necessary for additional bed adhesion and utilise a brim.
Also slower print speeds result in better-looking prints. You'll almost certainly obtain better results and higher visual quality if you lower your print speeds, regardless of the printer you use. Of course, there will also be a reduction in layer heights. A layer height of no more than 0.15 mm and a printing speed of no more than 60 mm/s are advised for excellent visual results.
Tune your retractions' rates and lengths to eliminate stray strings or blobs for even better visual quality. If the issue persists, try decreasing the nozzle temperature by 5°C steps.
Part cooling fan must not be turned on unless printing overhangs and bridges. Use maybe little extra cooling (Increase by 25–50%) to enhance these details.


